

So for this specific project I was in the market for a desk. And I was sort of working with intricate parameters because the exact space for the desk was rather small. I soon came to the harsh realization that most "desks" were not going to work for our space. They were too deep, too tall and too wide for our specific location. But as I once again place craigslist on the golden pedestal that it so deserves, I found exactly what I needed in less then 3 hours on the first day of my search. Bravo craigslist. Bravo.

 So I got to work. First I removed all the hardware, drawers and then surveyed the exterior damage. It wasn't horrible, but it definitely needed some tlc. Nothing that some sand paper and wood putty wouldn't fix. I recruited the husband and my sister to help because working along is boring. We put on some Black Eyed Peas and pretty soon us wee little Elves were scraping and sanding away in Santa's Little Workshop (aka our garage).
 Here are some pics of our progress...

There was some definite wear and tear.


The legs had some damage so we used a generous amount of wood putty.

These are the drawers after 3 coats of an aged white paint.

After this I ended up using a finishing sander to get rid of the brush marks and take away some of the glossiness. I was pleased with how it aged the white even more as well.

Sister hard at work :)


Sister and offspring in the background.

The top of the desk had some parts where the wood was chipped or had
a jagged edged. Once again wood putty to the rescue.
So after all that wood putty, sanding and several coats of paint (to be honest the project probably only took me a total of 8 hours in 3 different sessions - not bad) here is my final piece of work. It honestly looks brand new in person and I couldn't be more pleased. I ended up doing an inked finish to the edges of the drawers and the main lines of the desk to give it an aged look. Its the same finish I used here for my Kitchen Knife Block re-do.
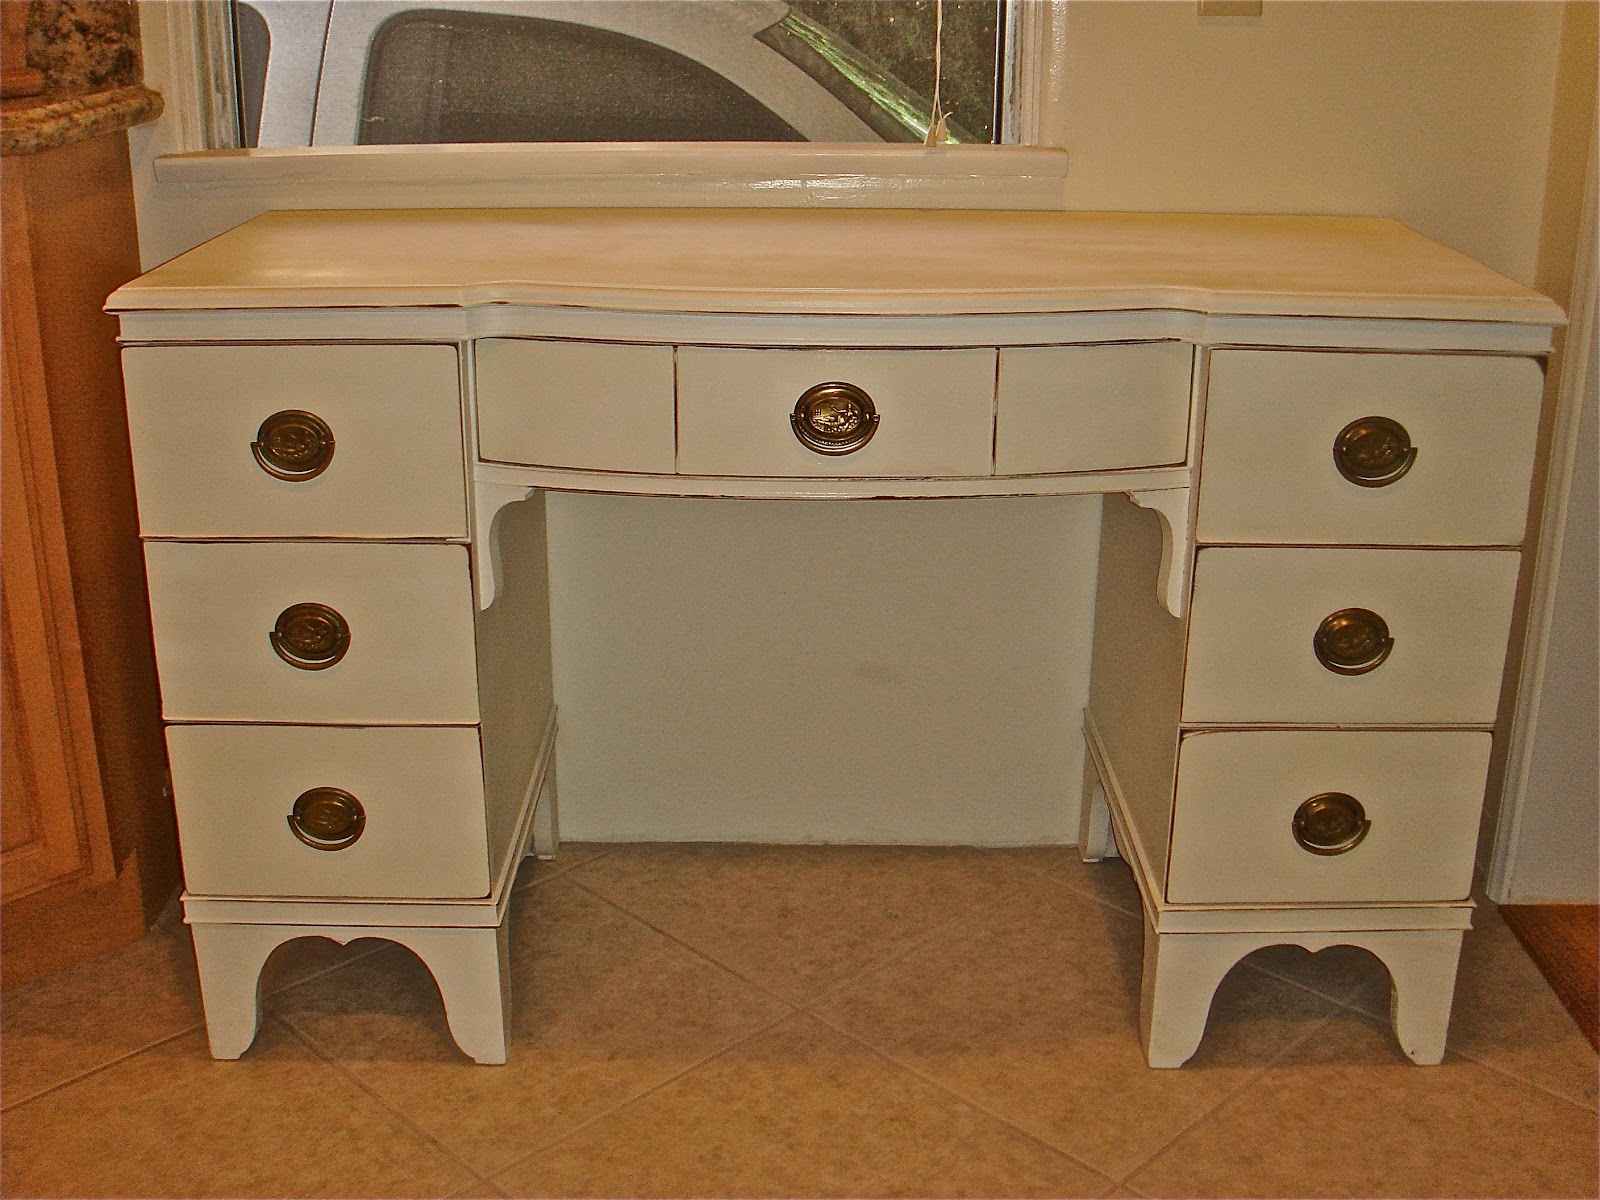


In case you didn't notice... the original desk/vanity had 2 handles on the center drawer, but one of the handles was busted and wasn't in useable condition. So we filled up the holes and then re-drilled new ones in the center resulting in only 1 handle. Which I actually prefer because it looks more like a desk and less like a vanity.


The lighting in some of the photos was bad and thus didn't really give you the best idea of how it actually looks in real life, but this last photo shows it in its truest colors. And here is a before and after....
TA DA!!!

Since I pinned a generic tutorial on furniture I couldn't really do a pinned it. made it. picture because it wouldn't really make sense. But I think the before & after approach works even better for this project. But either way....
I pinned it. I made it. And I stuck it in my kitchen!
I can't wait to show you all of the other projects in my quest to decorate our kitchen. I am currently working on curtains, adding a long runner, re-covering an old chair that used to be in our bedroom (but now will be used at the desk), some cool artwork and other random things.
Next up: Backyard patio lanterns using wine bottles!!
OMG! That is perfect! David and I love it!!! You are one talented mama!! Love it!!! One day, I know that God will have us be neighbors and we will be doing arts and crafts while our kids are in school :) This is my dream!
ReplyDeletemiata cracks me up!
ReplyDeleteby the way, thanks for the shout out in your post! and your welcome. :)